“With beauty before me, may I walk
With beauty behind me, may I walk
With beauty above me, may I walk
With beauty below me, may I walk
With beauty all around me, may I walk
Wandering on the trail of beauty, may I walk”
– Navajo: Walking Meditation
“And into the forest I go, to lose my mind and find my soul.”
-Unknown
It was yet another beautiful day here in the Hudson Valley (7/11/16). When I got to the south parking lot of the Anthony Wayne Recreation Area (AWRA) at about 7:15 am, the temperature was in the high 60’s with no real humidity. Their was a slight breeze, which at that time of the morning actually raised goose bumps on my arms. Without a doubt, that certainly beat the alternative of heat and bugs. For almost the middle of July, you couldn’t ask for anything better!
The other day I introduced you to a book written by Don Weise called, Circuit Hikes in Harriman-35 Loop Hikes and Trail Runs in Harriman and Bear Mountain State Parks. Since I am familiar with the AWRA, I saw the Horn Hill Bike Path listed as one of the “trail runs, walks, ski loops, and mountain bike rides” and decided to try it out.
After you get off of the Palisades Parkway and enter the AWRA, go to the second parking lot (the south lot) and park by the kiosk. This marks the start of your hike as well as the end.

Depending on the time of day that you begin (or end) your hike, this would be the perfect place to sit down and enjoy a snack. It is well shaded and today it even had a bed of pine needles that you could easily throw a blanket down on if you chose to do so.

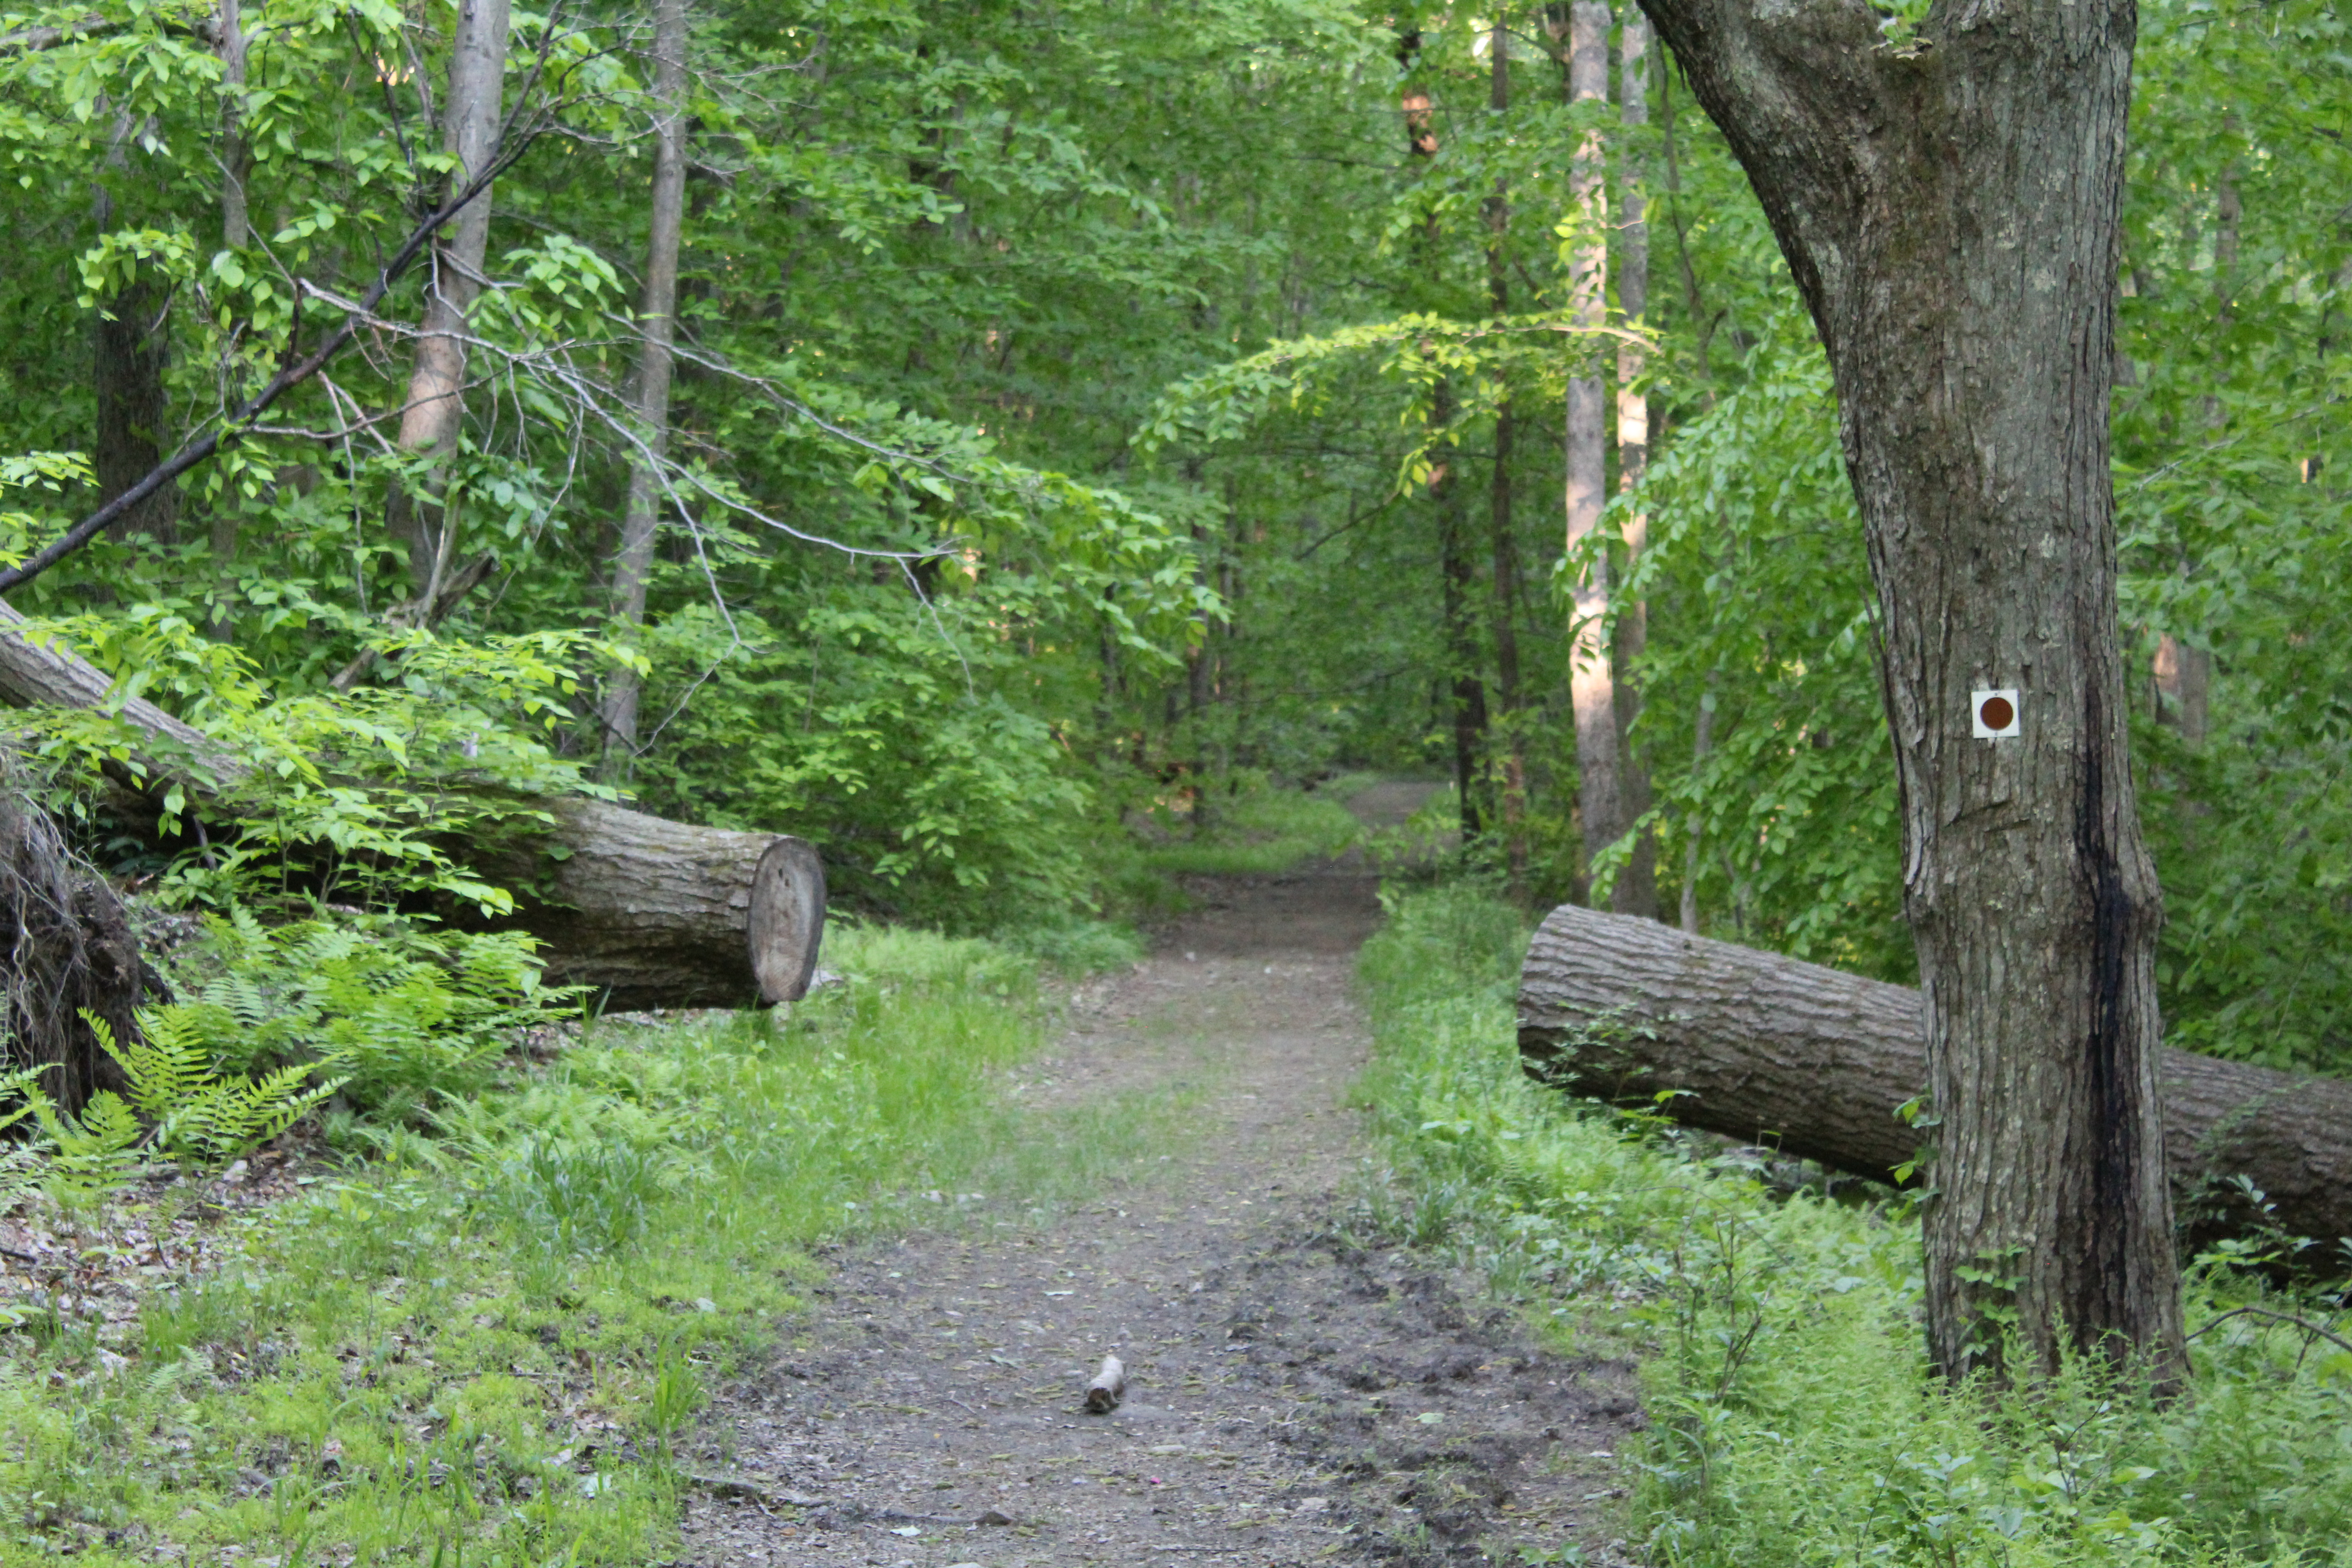
Starting out on the bike path, the walking is easy as the trail is flat and winds through the woods with a serpentine like quality. Tree roots fill the trail and almost beg you to be cautious as you move south away from the parking lot and further into the woods.


The trail continues winding through the woods and still has not gained any appreciable elevation. As I kept walking, I couldn’t help but think about how much small(er) children would enjoy this hike. Since the area is wide open, they can actually run ahead of you (a little bit!) and do some exploring. The one thing that they will really love are the wooden bridges that guide you for the first part of the hike.


After approximately ten minutes of hiking, the bike trail intersects with the AT for the first time. Even at 7:45 am, I could hear thru hikers in conversation as they were already making their way towards Bear Mountain.

Crossing the AT, the trail meanders until it makes a 90 degree left turn. Weise’s book has a short loop and a long loop listed as your choices for the day. Either one would be a worthy choice, but if you choose the short loop (3.85 miles), you will continue on the Beechy Bottom Road for the remainder of the hike. If you decide to hike the longer figure eight loop (5.6 miles), the trail veers off to the right, .1 of a mile after you make the left turn. After the turn, the trail is no longer flat and you start climbing up hill pretty steadily.

Although this is a climb, it certainly is manageable and shouldn’t cause much distress. After several minutes of heading up hill, the trail flattens out and you are directed to make a right turn to continue the climb.


As you move along, make sure that you take the time to check out everything around you. I was pleasantly surprised at the diversity of the trees, plants and bushes in the middle of July and I can only imagine what this area looks like when the fall foliage is in full effect later in the year.


The loop will continue on a downwards slope and as you near the end and just before you rejoin the Beechy Bottom Road, you will literally be yards from the Palisades Interstate Parkway. I had originally planned to take a water break at this point, but I quickly changed my mind. After enjoying so much quiet, I found that the vehicle noise from the Parkway disturbing to say the least. Wanting to get away from the cars, buses and horns as quickly as I could, I forged ahead and didn’t stop until the quiet returned. Luckily, at this time of year, the woods are pretty dense and this has a habit of dulling all of the extraneous noise that civilization produces, which meant a return to peace was not far off.
Soon after my water break I finished the loop and headed on to the Beechy Bottom Road. Since I could only hear the clicking of my hiking poles and the sound of my boots propelling me forward, I knew that the peace I longed for on the trail was with me again.


Once again, the AT runs through the bike trail and heads steeply up West Mountain (Not noted on the sign below).

Moving on, the road remains flat and there are many places to stop and eat lunch, a snack or just to rest. If you choose not to stop for an extended amount of time, you will find that the miles disappear quickly. Although the hike never really gets difficult, the fact that you have been walking on roots and rocks for most of the way make for some sore feet. At this point you are beginning to feel it!!!


As you near the end of the hike, you will go down a short downhill section and you will see a sign that tells you to go right. After you make this right turn, immediately veer left instead of staying on the road. I make this point because even though I read the description in Don Weise’s book, I continued on the road itself. This, of course, is no fault of the author, it was my not reading it correctly! Anyway, that added about 1/2 mile onto the hike as I figured out my mistake when the road ended and I had nowhere else to go.
Turning back around and heading back on the road, I made the correct turn and about 15 minutes later, you will see this locked gate, signifying the end of your hike in the woods.

At this point you will turn left and walk all the way to the far parking lot where you began. Since I did the longer loop and added about a half of a mile due to my mistake, this hike ended up being just a little over six miles.
Although I was tired, the walk back on the road next to the main parking lot had several interesting things to photograph. Here is a sample of what I saw on my walk back to my car:
As with every hike that I do, I can tell you that this was a truly an excellent way to start the day! It helps to keep things in perspective and allows for time to reflect without all of the distractions that we are faced with each and every day.
Thank again to Don Weise as this proved to be another superb circuit hike that I not only look forward to doing again this summer, but also as the seasons change.


 As you work your way down the trail, you will notice a mine entrance on your right off into the woods. Even though they are incredibly interesting, my advice to you is to not leave the trail to investigate them. Several people have done so and lost their lives. If you didn’t know, Fahnestock State Park is known for its rich iron ore mining that ocurred from the mid 18th century to the early 20th century.

 After you cross the stream, continue on the trail and hike up a small hill where you will see this on your right-
 Even though the entire hike is only 2.5 miles long, this would be a perfect place to stop for water or eat lunch or a snack with the kids. After a break you will head downhill for a very short time and then you will begin climbing again. On this hike, this will be your only somewhat major climb. Walking steadily uphill for 5-10 minutes you will come across a large mound of rocks.


